The Best Way To Fill In Cracks, Saw Cuts & Control Joints In Concrete Floors
- Easy Application
- Compatible For Painting Over With Epoxy
- Will Not Crack Or Chip Up
- Permanent Durability
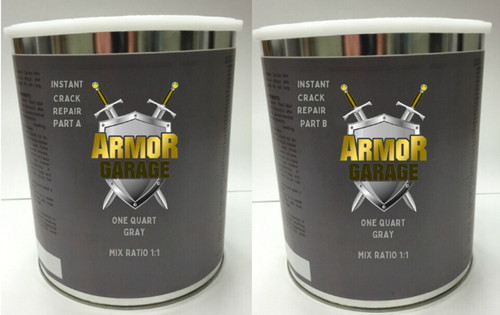
Epoxy Mortar Liquids is a 2 part special resin that you mix with up to 50lbs of locally-purchased "Playground type" sand (00 size) per 1 gallon of mixed product (this type of sand is smooth and very clean). You mix the A & B together and then add the sand to it till you get a "pasty/grout" consistency. Use for filling control joints, saw cuts, large cracks, divots and spalls. When forming coves use our Cove Base kit.
For best results with cracks, run a small hand grinder through cracks to V them out. Apply before cleaning and etching. Cures to a rock hard finish that is stronger than concrete and bonds perfectly with any of our epoxies. Used to make your floor ultra-smooth prior to applying our epoxies. Comes in 1 gal size and 3-gal size. Coverage is dependent on crack sizes and application and sand mix content. 1 gallon set is sufficient for normal crack filling up to a 4 car garage and will cover approximately 21.5 cubic ft. For larger floors with a larger quantity of cracks and or over 5000 sf we recommend the 3-gallon set which will yield approximately 43 cubic ft of coverage.
Note: If filling in expansion joints (joints with flexible materials in them) that incur slab movement, we recommend you use our Flexible Joint Sealer.
For saw cuts and control joints you can leave unfilled and run the epoxy lightly in an out of the joints, this will make them look like finished grout lines. This is done more often than not but if you want one solid surface then by all means you can fill them in with this product or our ready coat crack repair compound.
BACK TO MAIN CONCRETE REPAIR PAGE
Check our full line of Epoxy Flooring Products:
Go To Industrial Epoxy Flooring
Go To Commercial Epoxy Floor Paint System
Epoxy Concrete Crack Directions
Repair area must be clean and dry, see Must Read tab. Mix no more than half the Part A and Part B liquids at the mix ratio stated on the front label. Use a clear calibrated container to get accurate measurements. PLEASE NOTE that as long as you mix in the proper ratio of Part A & Part B it is impossible for the mix not to harden unless your floor temperature is below 55 degrees. We recommend mixing about half the liquids at a time(1/2 gallon). Mix thoroughly to ensure the two components are fully mixed together. Then slowly mix in the playground sand (make sure to buy the bagged sand to ensure there is no moisture present) to the mix until it gets to a grout type consistency. Typical mix is about 25lbs sand to 1/2 gallon of liquid product. There is no exact measurement of sand, you are trying for a grout like consistency, a little thicker or a little looser depending on your application. You can mix in a little less or a little more to get a thicker or thinner consistency depending on your application. For example when filling in pitted areas you may want a looser mix to trowel or flat squeegee the material over the pitted floor area. Immediately apply to the area you want to fill in. Work time is about 20-30 minutes depending on temperature.
Let dry overnight till rock hard and then epoxy paint right over it.
Typically you would apply this prior to etching. So you must clean any repair areas first. A hand grinder works best for cracks and divots. Make sure to blow out all the dust. For holes a wire copper fitting cleaning brush works great. These are available in the Plumbing department at any Home Improvement store. For large pitted areas it's best to apply after etching and cleaning to ensure proper adhesion. Use a rectangle mason trowel for best results. Let floor dry completely before applying.


