Industrial Grade Epoxy Coatings & Garage Flooring
Tired Of Products That Don't Last?
Everything We Make Lasts The Longest!
FREE SHIPPING ON ORDERS $300+
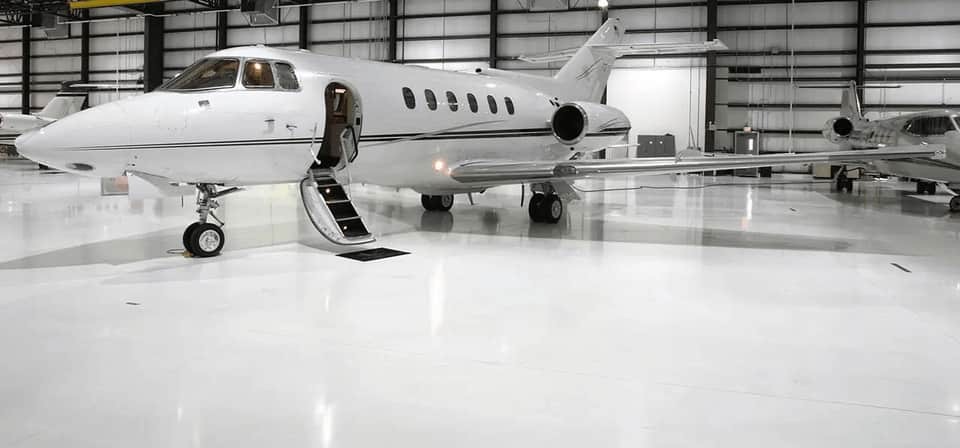
Epoxy Floors
Metal Roof Coatings
Interlocking Garage Tiles
Premium Epoxy Floor Coatings, Garage Flooring, And Roof Coatings
We specialize in solutions used and trusted by homeowners, all branches of the US Military, and businesses of all sizes. All our products are built with three things in mind: they're easy for first-time users to install, they look the best, and they stay looking new the longest..
Our three main menus make it easy to shop for what you need either by product, project type or product images. If it needs a coating or floor covering that looks great and lasts the longest, we have a product for it!
Submit the Request A Quote form for advice on product selection, prompt pricing on your project and volume discounts.
Our Top Selling Products
We manufacture and sell a wide range of epoxy coating products for floors-walls-roofs & garage flooring for just about any application using the most advanced materials & methods to deliver unmatched quality, finished appearance, and reliability with expert customer service.
See Why ArmorGarage Epoxies Really Are The Best!
 Highest Quality
Products made without compromise that outshine & outlast the competition.
 Fast Shipping
Large inventory for quick shipping.
 7-Day Tech Support
Get expert help before, during and even after the job is done!
 Expertise
Research & talk to people with actual product application experience!
 Dependability
ArmorGarage Products are proudly Made in the USA! No inferior quality imports.
 Buy Direct & Save!
Save up to 80% on your coating & flooring projects with same professional results!
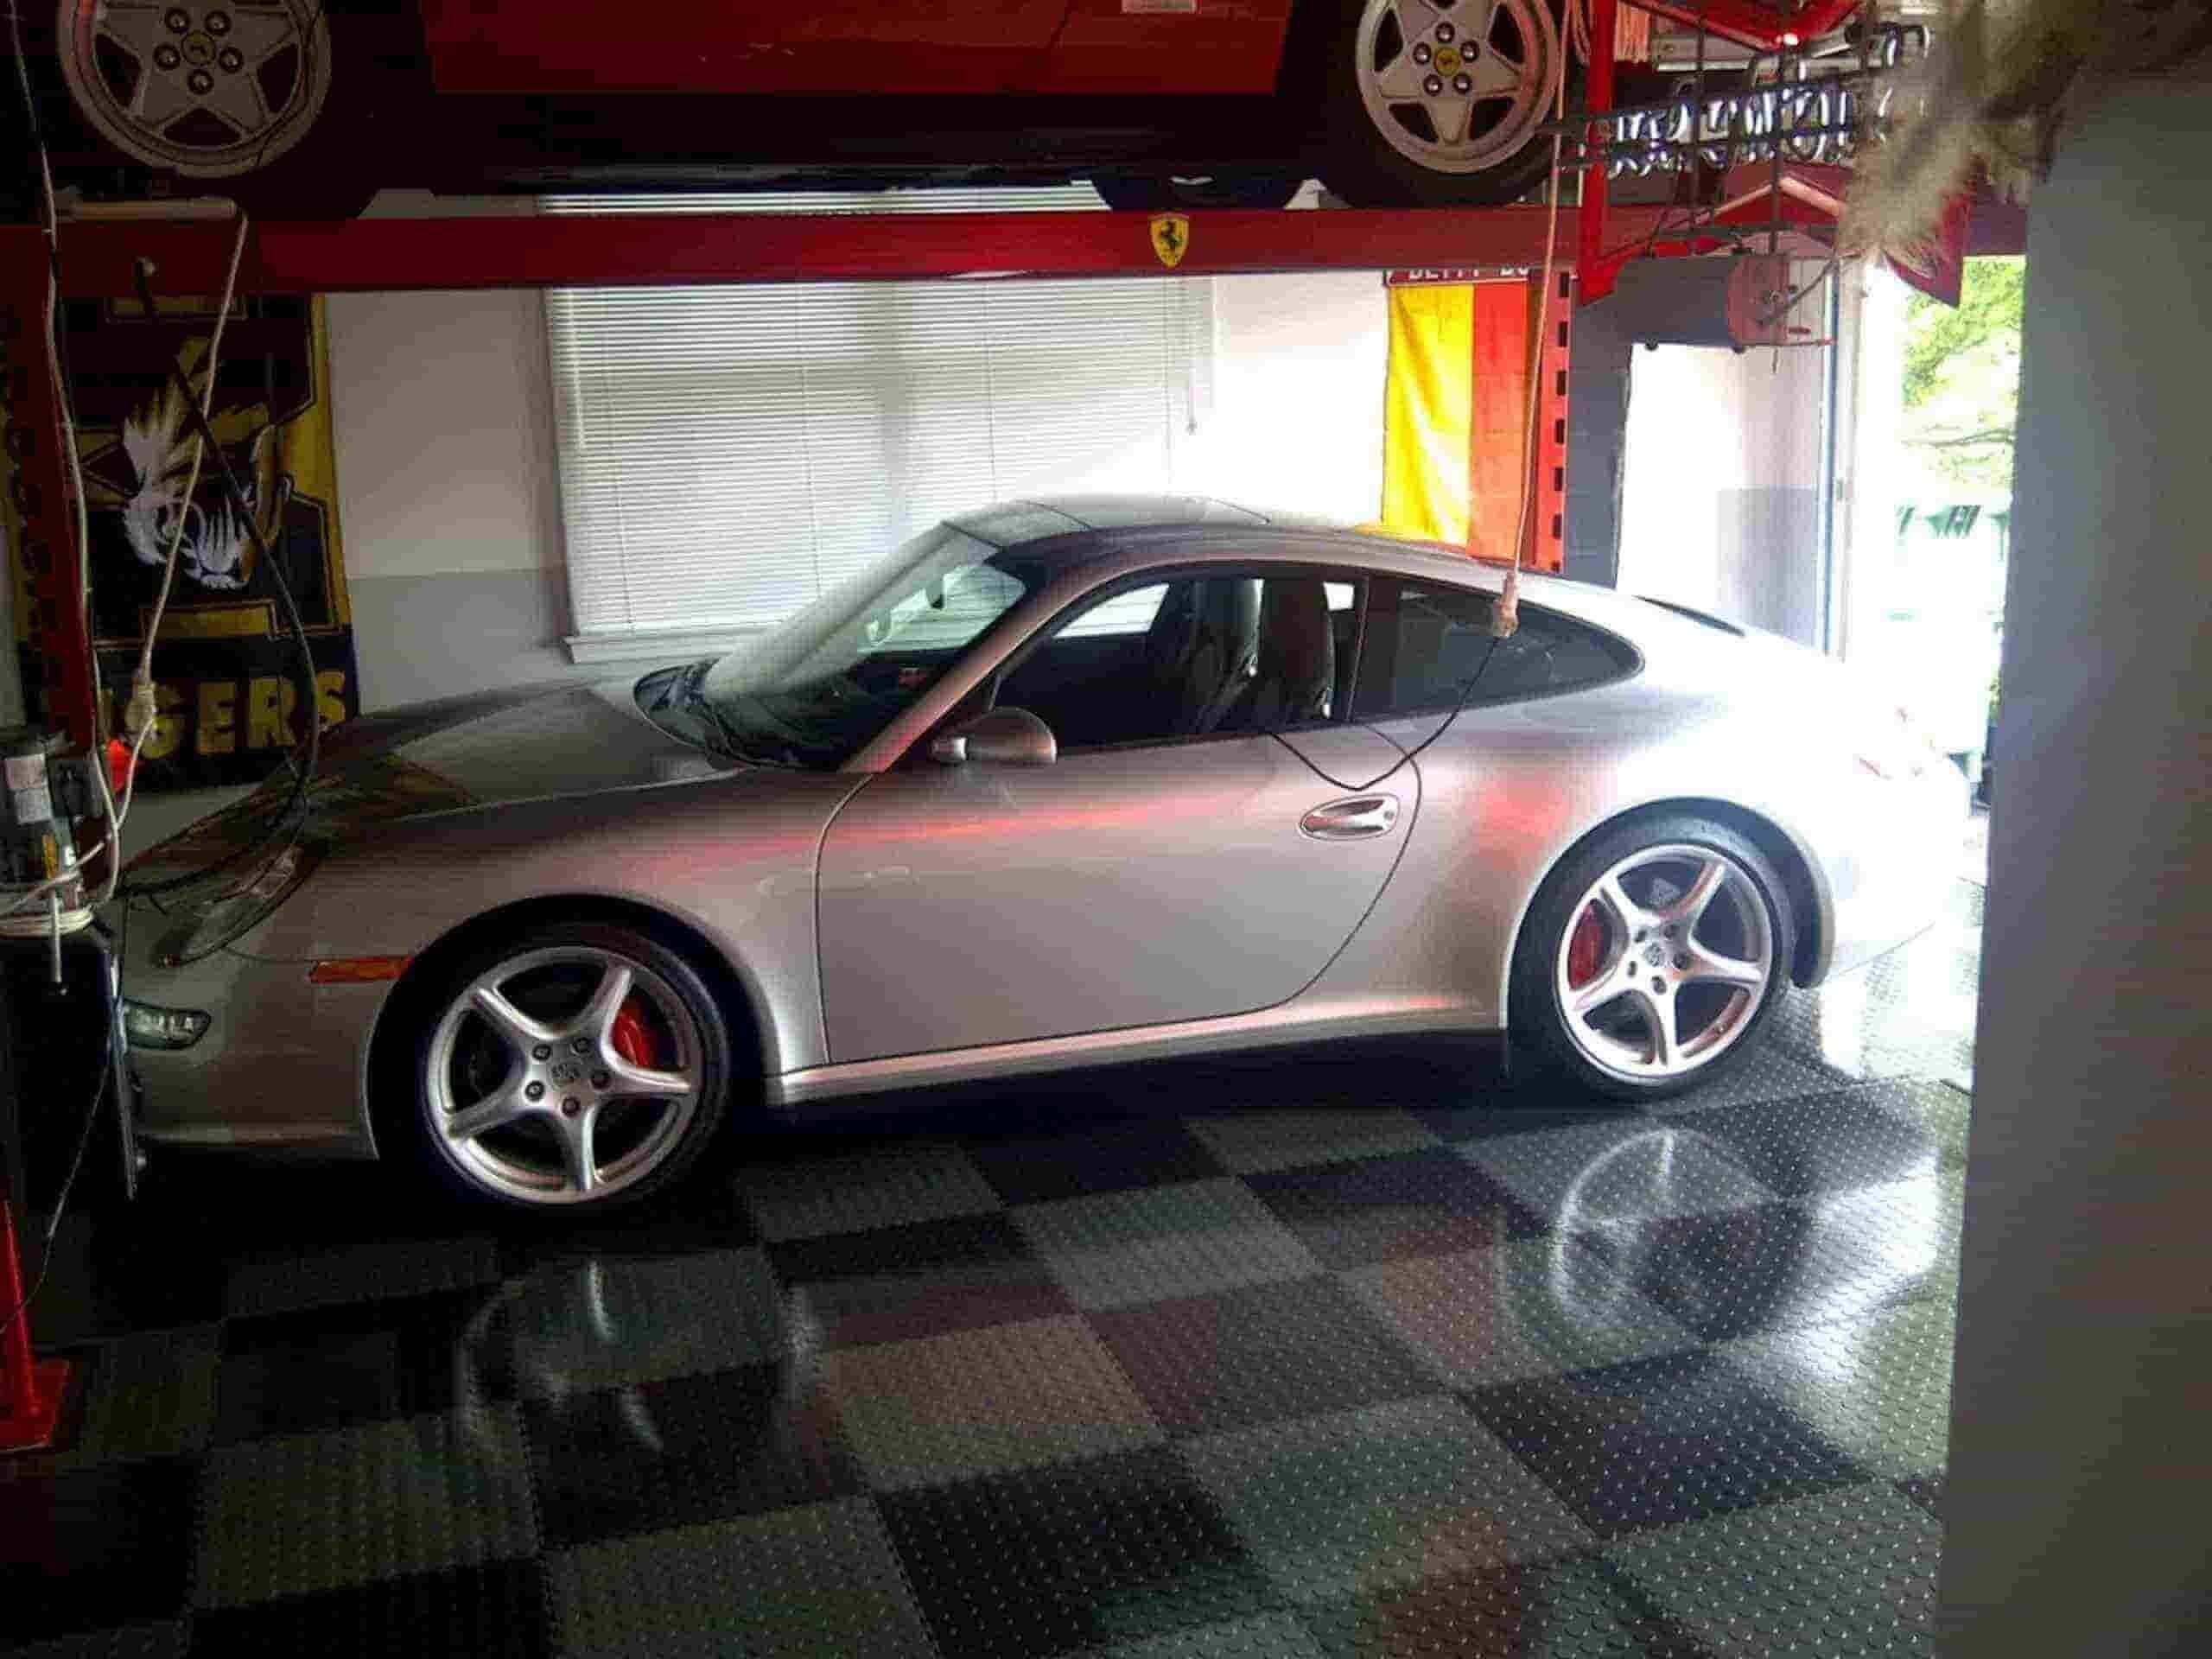
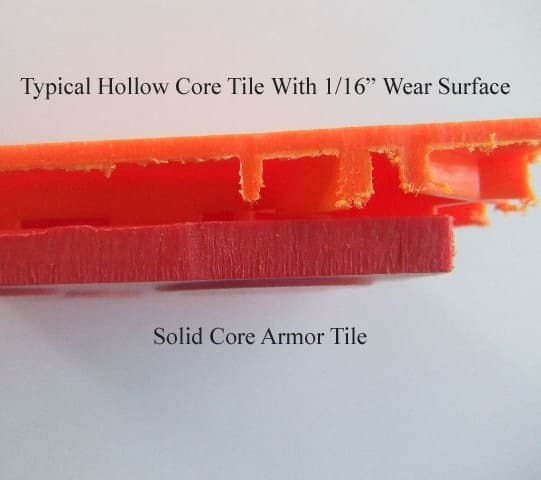
Garage Flooring
Our Garage Floor Tiles Are Built From Solid-Core PVC — Far Stronger And Quieter Than Inferior Hollow-Core Tiles Other Brands Sell That Weigh Less Than A Pound, Split Apart And Make Click CLack Noises When Walked or Driven On.

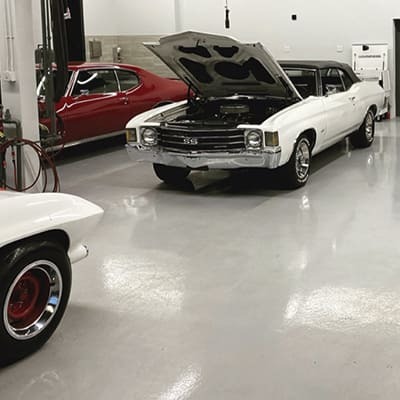
Garage Epoxy Kits for Every Finish & Durability Level
Engineered to protect your floor from hot tires, stains, chemicals, and heavy abrasive traffic. Shop Garage Floor Epoxy Not sure which one is right for you? INTERACTIVE EPOXY FLOOR SELECTOR to choose the right epoxy coating for your specific project.Links To Commercial Epoxy Flooring - Roof Coatings - Garage Flooring Tiles - Deck & Dock Coatings


Everything You Need to Know For Your Project
Get the true facts and expert advice from the manufacturer the pros trust. Our contracting division installed the floors in the new NYC Freedom Tower. The US military chose our roof coatings for Beale Air Force Base and our tiles for the US Army Weapons Training Range. Read our expert articles in the Buyer's Guide and see real-world proof of product durability in Case Studies.
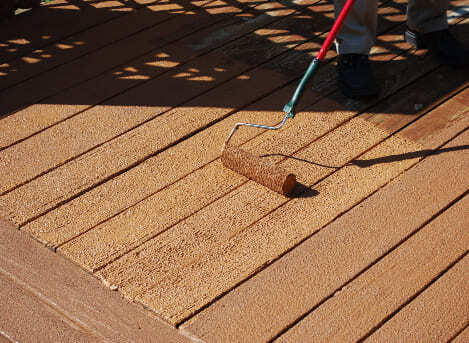
Epoxy Flooring Facts & Fiction
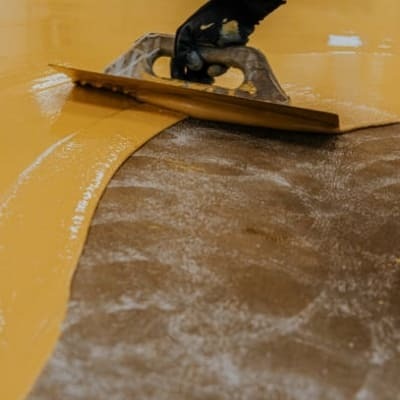
How to Prep and Paint Your Floor

Epoxy Floor Case Studies